Herringbone Kitchen Backsplash in a Westside Bungalow
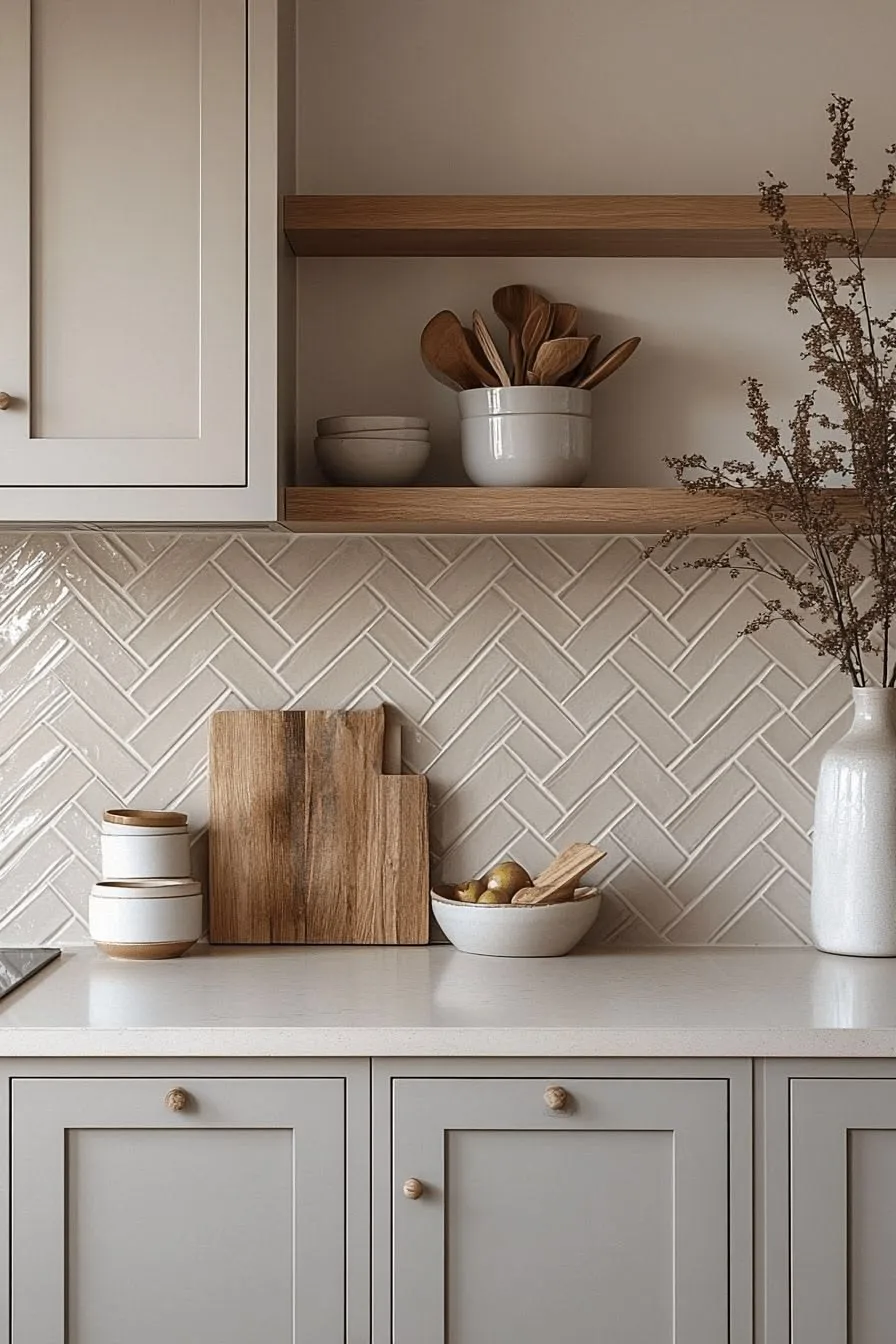
This kitchen backsplash project in a renovated Westside bungalow involved installing a cream-tone herringbone pattern across the full wall between the upper cabinets and countertop, plus a continuous run behind the open oak floating shelves. The tile is a glazed ceramic in a 3x6 format, set at 45 degrees to create the herringbone angle. Establishing the centerline relative to the range was the critical layout decision: the range sits slightly off-center on the wall, so we anchored the pattern to the visual midpoint of the hood opening rather than the wall itself, keeping the diagonal symmetrical on both sides of the focal point.
The wall behind the open shelves required setting tile without any upper cabinet reference line, which means the layout had to be carried continuously from the cabinet sections through the shelf section without a visual break. We used a laser level to maintain the diagonal angle across the full run. Grout is a soft warm gray that reads as a secondary texture rather than a dominant feature, letting the herringbone pattern carry the visual interest.
Project details
| Service | Kitchen Backsplash |
|---|---|
| Area | Westside |
| Materials | Glazed ceramic 3×6, warm gray sanded grout |
| Scope | Residential |
| Timeline | Single-day install |
What we did
Established centerline from range hood opening, dry-laid first diagonal run to confirm pattern symmetry.
Cleaned drywall surface and confirmed flatness before applying polymer-modified thin-set.
Set tile from center out, cut angles with wet saw at shelf bracket locations and cabinet edges.
Applied warm gray sanded grout, cleaned haze, applied penetrating sealer to grout joints after 72-hour cure.