Residential Tile Installation
Floors, walls, and wet areas in Atlanta homes. Every installation starts with the substrate, not the tile.
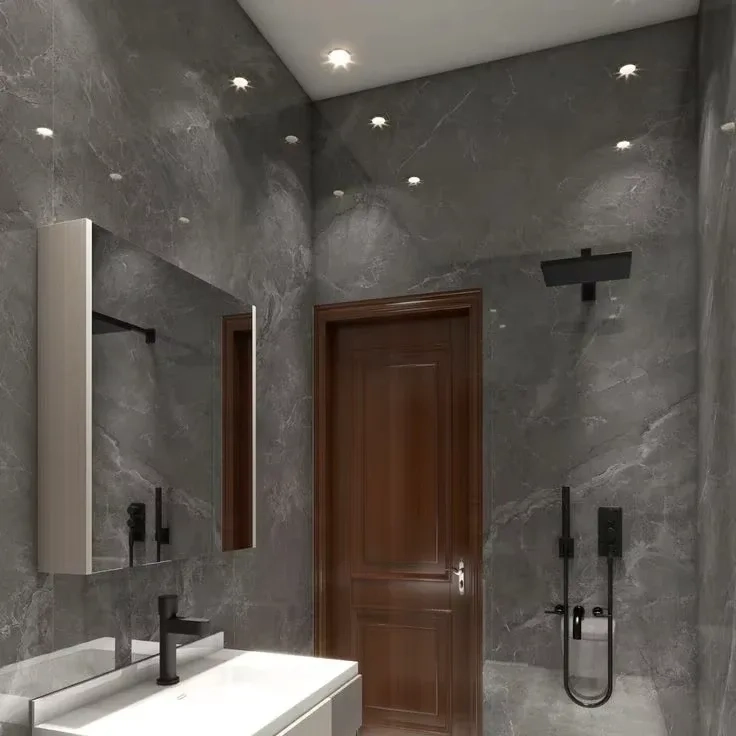
What residential tile installation involves
Residential tile work spans a wider range of surfaces and conditions than most people expect. A kitchen floor on a concrete slab behaves differently from a bathroom floor over a wood subfloor in a 1940s bungalow, which behaves differently from a shower surround in a new condo. Each scenario calls for a different approach to the substrate, the mortar, and the tile selection.
We work across all of these contexts in Atlanta homes. The work includes floor tile in kitchens, living areas, mudrooms, and laundry rooms; wall tile in bathrooms and kitchens; and full wet-area installations in showers, tub surrounds, and steam rooms. We also handle transitions between tile and adjacent floor surfaces, which is where sloppy work becomes visible quickly.
The substrate assessment step
Before anything is ordered or scheduled, we assess the substrate. For concrete slabs, we check for moisture vapor transmission using a calcium chloride test or relative humidity probe when conditions warrant it. High moisture vapor can cause epoxy-based adhesives to fail and can delaminate large-format porcelain within months of installation. For wood subfloors, we check deflection by loading the floor and measuring movement. The Tile Council of North America (TCNA) recommends no more than L/360 deflection under a loaded span, meaning a 10-foot joist span should flex no more than 1/3 inch. Wood subfloors in older Westside and Midtown homes often need reinforcement before tile is appropriate.
This step is not optional. It is what separates an installation that lasts from one that does not.
What the installation process looks like
Measure, test substrate, confirm deflection and moisture conditions, identify transition points.
Clean, level, and mechanically prepare the substrate. Install backer board or crack-isolation membrane as needed.
Establish centerlines, plan the pattern, dry-lay key rows to confirm the layout before any mortar is mixed.
Back-butter large-format tiles, set with appropriate coverage (minimum 95% in wet areas), allow full cure before grouting.
Seal grout joints, install trim pieces and transition strips, clean tile surface thoroughly.
Where we work
We install residential tile in Westside, Midtown Atlanta, and along the Marietta Street Artery corridor. Each neighborhood brings its own housing stock and installation conditions. Westside has a mix of older craftsman homes and new construction. Midtown Atlanta is predominantly condos and townhomes with concrete slab construction. The Marietta Street Artery includes both residential conversions and new mixed-use buildings.