Kitchen Backsplash
One of the most visible surfaces in a kitchen deserves precise layout, clean cuts, and the right adhesive for a heat- and moisture-prone environment.
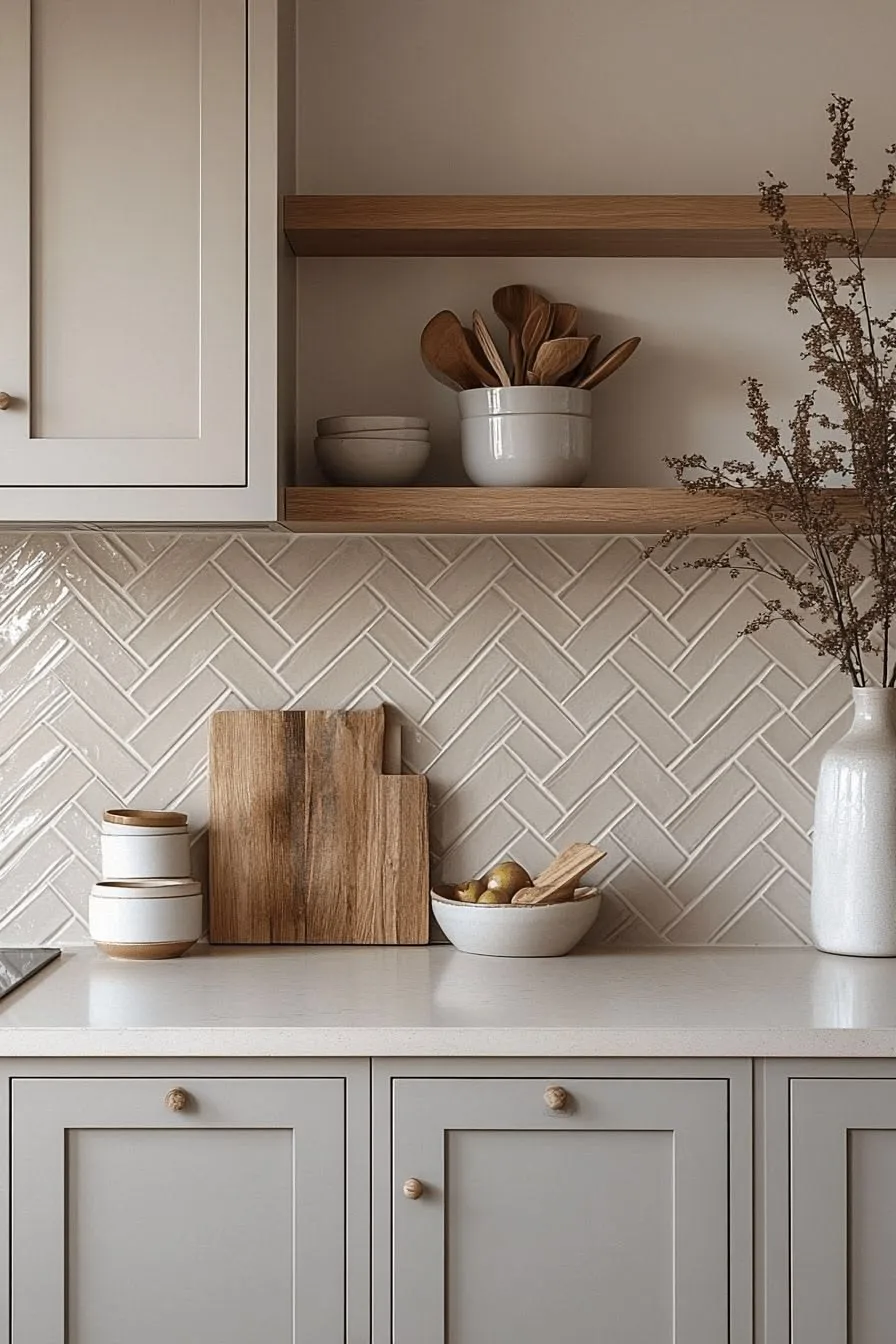
The layout decision that most people overlook
The most common mistake in backsplash installation is starting from one wall and working across. This results in full tiles on one side and narrow slivers on the other, and it becomes obvious the moment the kitchen is finished. The correct approach is to establish a centerline relative to the focal point of the kitchen, typically the range or the sink, and to plan the layout so that cut tiles on both sides are equal in size and not less than half a tile wide.
For herringbone and other angular patterns, this planning step is more complex because the pattern interacts with the cabinet lines and window openings in ways that are not always apparent from a sample board. We dry-lay the first few rows before any mortar is applied to confirm the layout reads well in context.
Adhesive selection for kitchen environments
Kitchen walls behind a range experience temperature cycling from cooking heat and steam. Standard thin-set mortar handles this well for most tile types. Glass tile and some large-format porcelain tiles require a white polymer-modified thin-set because standard gray mortar can telegraph through translucent tile, changing the apparent color. Mosaic sheets on mesh backing often need a medium-bed mortar to provide enough support for tiles that span the backing gaps.
We select adhesive based on the specific tile being installed, not a one-size approach. The manufacturer's technical data sheet for the tile and the mortar both get reviewed before a job begins.
Common backsplash styles we install
- Classic subway tile in horizontal stacked or offset (brick) pattern
- Herringbone pattern in standard and elongated subway formats
- Vertical stacked tile (Zellige and handmade tile work well in this orientation)
- Large-format porcelain slab backsplash with minimal grout joints
- Mosaic tile in glass, natural stone, or porcelain
- Patterned encaustic-style cement or porcelain tile as a feature wall
Outlets, switches, and cabinet returns
A backsplash with outlets requires careful cutting. We use a diamond hole saw or an angle grinder with a diamond blade to cut precise outlet openings rather than chipping away at tile with a notched cut. The cover plate should sit flat against the tile face without rocking. Tight returns to cabinet interiors and window reveals are finished with pencil trim or a clean mitered edge, depending on the tile profile and the client's preference.
Available across our service areas
Kitchen backsplash installation is available in Westside, Midtown Atlanta, and the Marietta Street Artery. Call (706) 510-0545 or use the contact page to discuss your kitchen project.